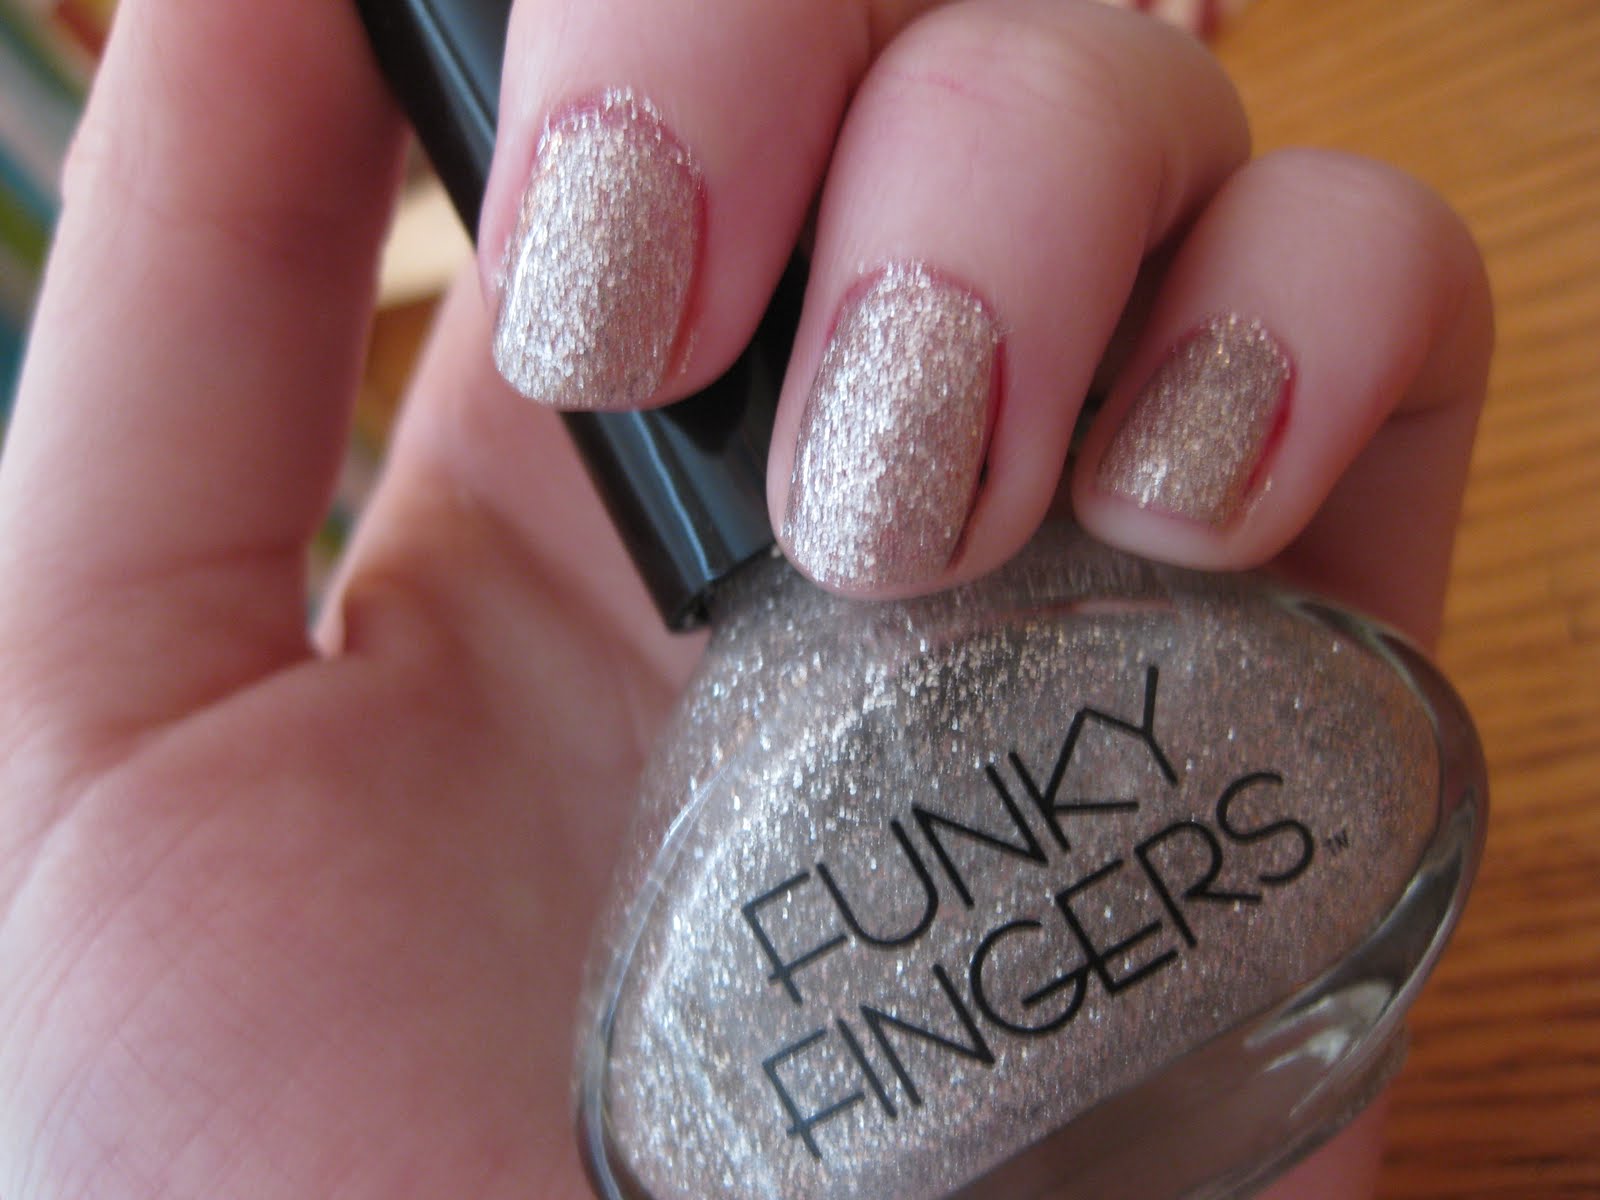
To start, I gathered all the polishes I needed - Use whatever colors you like. Unfortunately, I didn't think to take pictures or make mental notes of the exact names of what I used. Basically, I used a white (from Sally Hansen), red (ORLY Monroe's Red), black (striping polish), green (Funky Fingers Blitzen), gold (Milani holographic), silver (Milani holographic), blue (from Funky Fingers), and a brown (OPI You Don't Know Jacques).
I started out with my usual base coat of Sally Hansen's Insta-Grip. I applied two coats of white polish, and put a fast-drying top coat on the top.
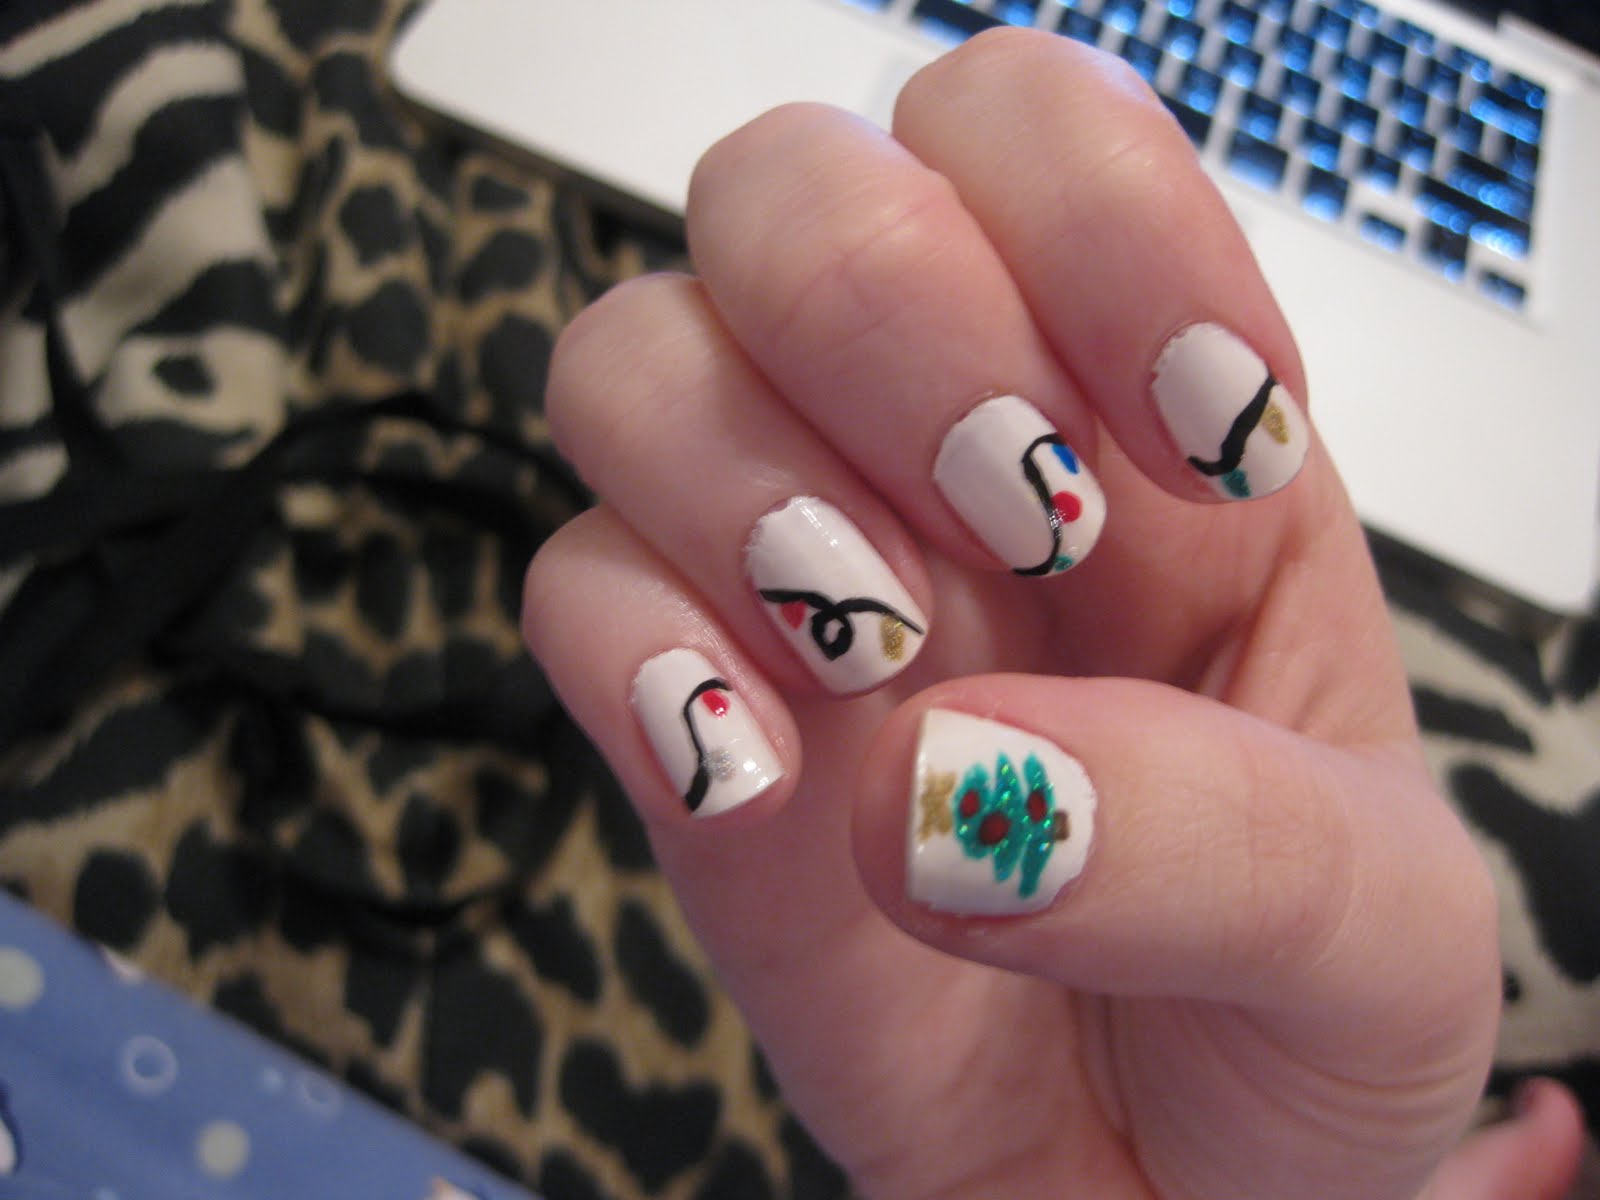
Next, I took the black striping polish and made some wavy lines across my nails. Try to make it look like the line goes across all the nails. Add some lightbulb-looking shapes on each of the nails. I did two to three lightbulbs in different colors.
 After I took care of the string of lights, I went to work on the thumbnails. I used the green polish and a fine-tipped brush to make a Christmas tree shape. Then, I took the gold polish to make a star, red polish for ornaments, and brown polish for a trunk. Here's the end result:
 And here is the completed look! I've been getting a lot of compliments on it. If you give it a try, let me know how it goes.


 After I took care of the string of lights, I went to work on the thumbnails. I used the green polish and a fine-tipped brush to make a Christmas tree shape. Then, I took the gold polish to make a star, red polish for ornaments, and brown polish for a trunk. Here's the end result:
 And here is the completed look! I've been getting a lot of compliments on it. If you give it a try, let me know how it goes.